cider-turkey-ck-780346-x

Crebs’ Brined Turkey Recipe

Seattle Times and published in the Denver Post 14-Nov-2001; who adapted it from Bon Appetit: The Christmas Season book.


Ingredients

  • 5 quarts water
  • one cup coarse Celtic or Kosher sea salt (or 1/2-cup table salt)
  • 3/4-cup honey
  • one bunch fresh thyme
  • four large cloves garlic (crushed and peeled)
  • 1-tbsp coarse ground pepper
  • one 8-to-12-lb free-range (or organic) turkey
  • one lemon (cut in half)
  • one tbsp olive oil (extra virgin)
  • one cup chicken broth (low sodium)

Directions

In a large pot, combine the water, salt, and honey. Bring just to a boil, stirring to dissolve the salt and honey. Remove from the heat and stir in the thyme, the garlic, and pepper. Cool completely, then refrigerate until chilled.

Put the turkey into a 10-to-12-quart stock pot. Pour the chilled brine over the turkey, cover, and refrigerate at least 10-12 hours and up to 24 hours. Turn occasionally.

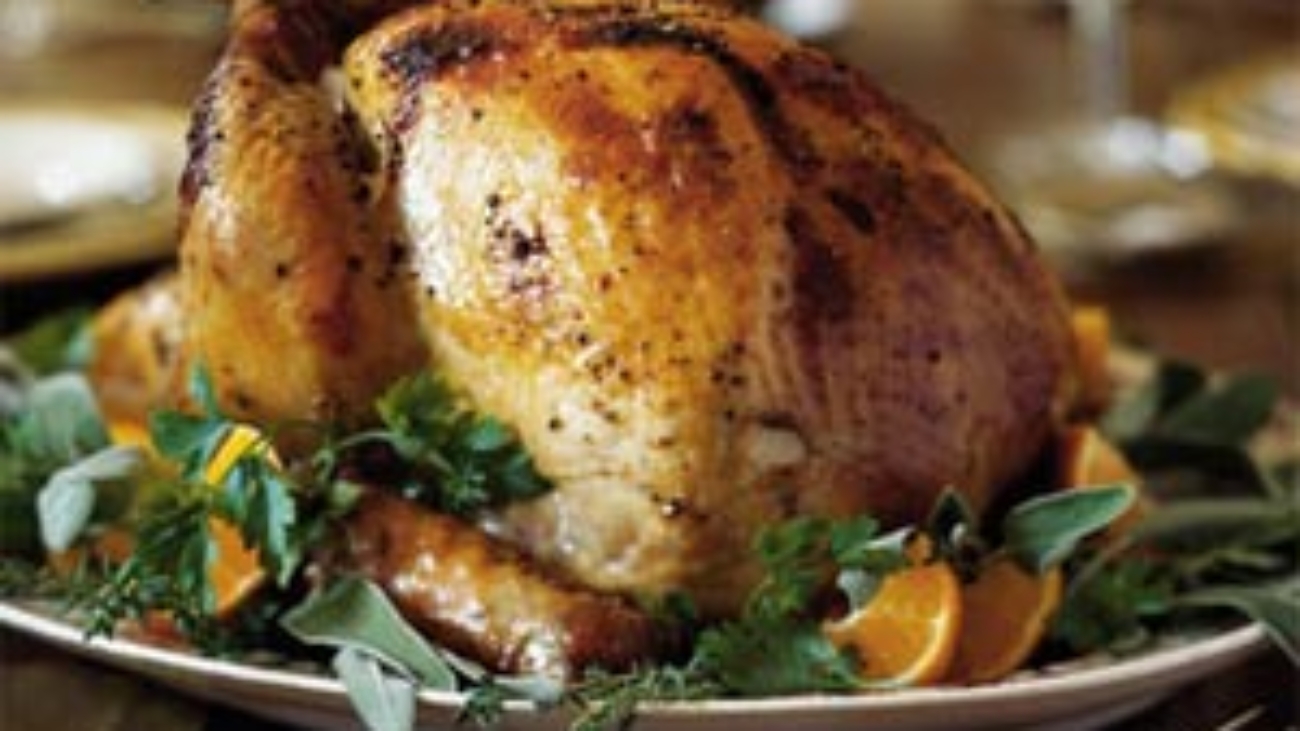
Preheat oven to 325 degrees F. Drain the turkey well. Pat outside of turkey with paper towels. Place the turkey on a rack in foil- lined roasting pan. Squeeze lemon juice inside the cavity and over the outside. Rub olive oil over the skin. Roast about 35 minutes per pound, basting occasional with the chicken broth, until an internal temperature reaches 170 degrees. Often an uncovered turkey will brown too quickly, so I cover loosely with aluminum foil, and remove the foil about 90 minutes before the final temperature is reached.

Transfer the turkey to a cutting board. Set aside for about 15 minutes before carving.

Bon Appetit et/kai Kali Oreksi.


Discussion:

There is a bit of science involved in the brining of a turkey or any poultry. The salt in the brine causes the protein strands in the skin of the bird to unwind, which creates a tangled protein-web which holds water. When the “web” is exposed to heat, the strands gel (similar to the whites of an egg) and form a moisture barrier to prevent water from escaping. This cooking process results in a very moist bird. It’s just simple kitchen physics and biochemistry.

Butt_done

Crebs’ Beer-Butt Chicken Recipe

Ingredients

One Whole Free-Range Chicken (3 lbs or better; discard parts, neck, etc.)

Rub:

1/2-tsp fresh ground black pepper

1/2-tsp organic garlic powder

2-tsp dried organic parsley

1-tsp dried organic oregano

pinch (or more for taste) dried cayenne pepper

pinch (or more for taste) dried paprika

pinch (or more for taste) dried tarragon

Beer Can Contents:

1/3-can (12-oz) of your favorite local beer

1-tsp lemon juice (optional)

2-Tbs melted butter

2 (or more) cloves organic garlic (sliced, dredged in rub, then crushed)

Drizzle: 2-Tbs melted butter
Directions

Melt 4 tablespoons Butt_ready
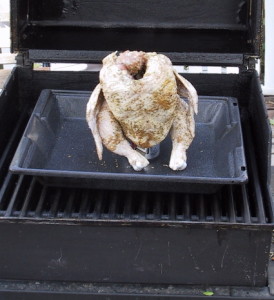
of butter on the stovetop. Preheat grill or oven to 350°F.

Combine dry “Rub” spices above in a separate bowl, and mix well. Rinse chicken in running tap-water, and pat dry with a paper towel. Sprinkle a liberal amount of dry rub both inside and outside of the chicken. (Experiment with your favorite spices and seasonings to make your own favorite chicken rub.)

Take your favorite 12-ounce can of beer, and either drink or pour-off 8-ounces. Peel and slice in half, 2 (or more) cloves of garlic; dredge garlic slices in dry rub mixture, then crush and put crushed garlic in the beer can (containing 4-ounces of beer), Add 2 tablespoons of melted butter and optional lemon juice to the beer can.

Insert the can of beer into the cavity of the chicken, open end up, and carefully place the chicken with can inside on an oven pan. The chicken should look as if it’s standing up on the pan, with the legs straddling the beer can. Adjust the legs to help balance the chicken so that it “stands up”. Drizzle two tablespoons of butter over the chicken.

Butt_done
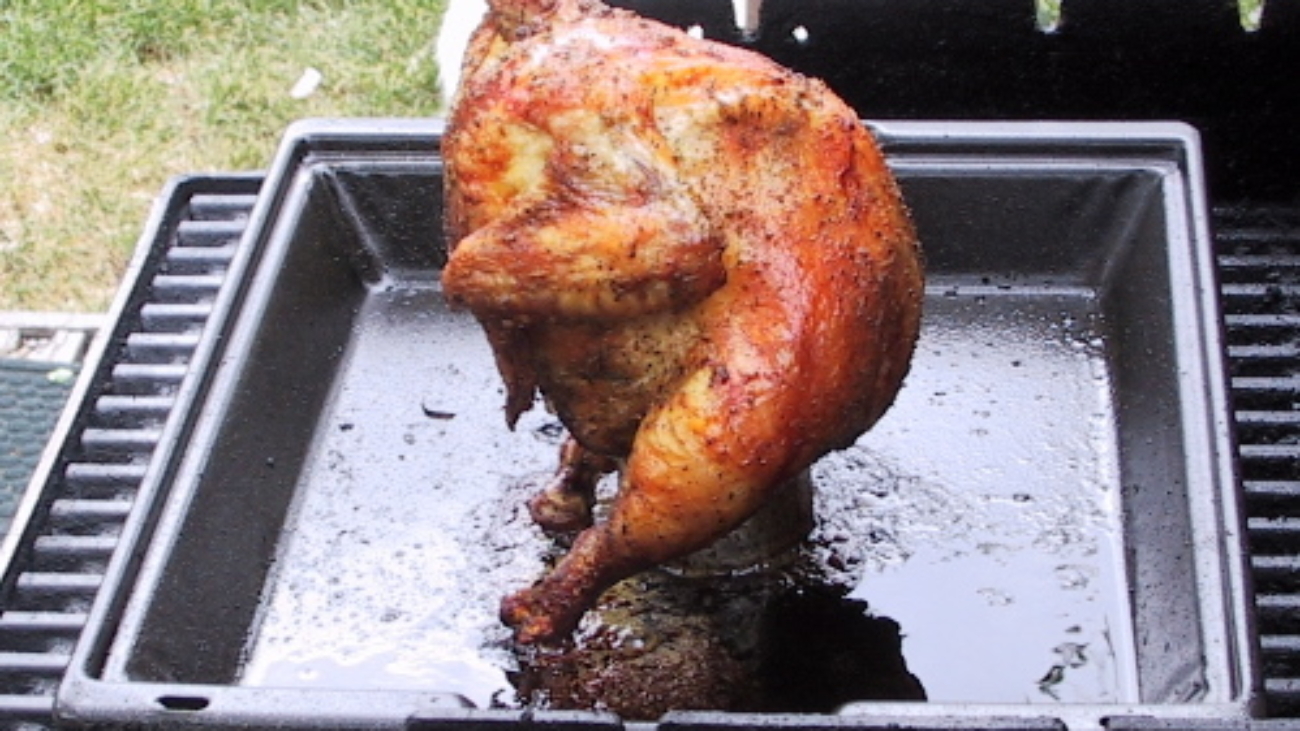
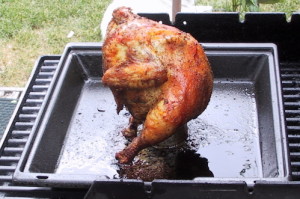
Carefully place the “panned beer-chicken” on the grill or in an oven at 350°F. Cook 1-to-2.5-hours depending on the size of the chicken. If the chicken appears to be cooking too fast on one side, it may be to be rotated 180°, -but only once. Chicken is done when the internal temperature reaches 170-to-175°F or when the legs get “floppy”.
Bon Appetit et/kai Kali Oreksi.

Discussion:
There is anecdotal evidence that it’s the yeasts and starches in the beer which may cause the “butt chicken’s” skin to be extra delicious and flakey. I think this recipe results in a very moist and tasty grilled chicken.

sauerkraut

Crebs’ Greek Sauerkraut Recipe

1) Chop or Shred finely one to four heads of ORGANIC red and/or green cabbage;

2) Put the shredded cabbage in a crock or large bowl, and for every head of cabbage, add: 1 Tablespoon of NON-IODIZED Celtic or kosher salt; 1 teaspoon of caraway seeds; 4-to-6 dried juniper berries; and, 1 Tablespoon of whey.

3) Stomp or crush the cabbage for about 10 minutes per head of cabbage to produce nice cabbage juice; I use Lehman’s stomper but a good meat tenderizer or mallet works well too. It’s IMPORTANT to stomp especially if you use red cabbage. I like to stomp to music with a good beat; therefore, I stomp to Kaiti Garbi’s 2001-hit “To Kati”.

4) Cover your cabbage with a couple unshredded outer cabbage leaves, then press the cabbage and leaves down below the juice-level; next add stones to keep the cabbage below the juice level.

5) Cover your crock, or if using a Harsch crock put on the lid and add water to the water-seal.

NOTE: I let the sauerkraut ferment at room-temperature for two-to-three weeks. I check the sauerkraut after 2 weeks by tasting it (and making sure the pH is below 4.1), it will get more sour or acidic the longer it sits at room temperature. Once it has reached the taste I like, I put the sauerkraut in mason jars and refrigerate for up to one year.

Καλή Όρεξη
pronounced “kali oreksi” is Greek for Bon Appetit.

yogurt1

Crebs’ Greek Yogurt Recipe

1) Heat 1/2-gallon organic milk (4% fat or better) to a temperature of 180°F (82°C) or when small bubbles-froth appears on surface of the milk or just before it boils.

2) Let milk cool to a lukewarm temperature of 108-112°F (42-44°C), then mix in 1/2-3/4-cup of plain yogurt (e.g., my daughter calls this step “immortalizing” the yogurt) and/or 10 grams (2 tsp) of yogurt starter into the lukewarm milk.

3) Cover milk mixture and place in a 105°F oven for 6-to-14 hours.

4) Afterwards, the yogurt has “set”, but I prefer it thicker and creamier. So I pour the yogurt into a cheese-cloth-lined collander within a large bowl and strain out the whey (clear milk liquid). See image of set-up below.

4b) Optional – For Greek Yogurt (Γιαούρτι), I put the collander/bowl set-up in the oven at 105°F (41°C) for 60-to-120 minutes to strain out more whey. This optional step makes the yogurt extra thick and creamy or “Greek-style”.

5) Pour yogurt from collander into a container (with a tight lid); cover and refrigerate. I like to stir or mix the yogurt at this stage which makes it extra creamy in my opinion. Yogurt will thicken even more in the refrigerator. Use within two weeks after refrigerating.

NOTE: Greek Yogurt is traditionally flavored with honey and fruit, but this Greek-American prefers adding Mexican agave nectar and Canadian blueberries to flavor our yogurt.

Καλή Όρεξη
pronounced “kali oreksi” is Greek for Bon Appetit.

yogurt1
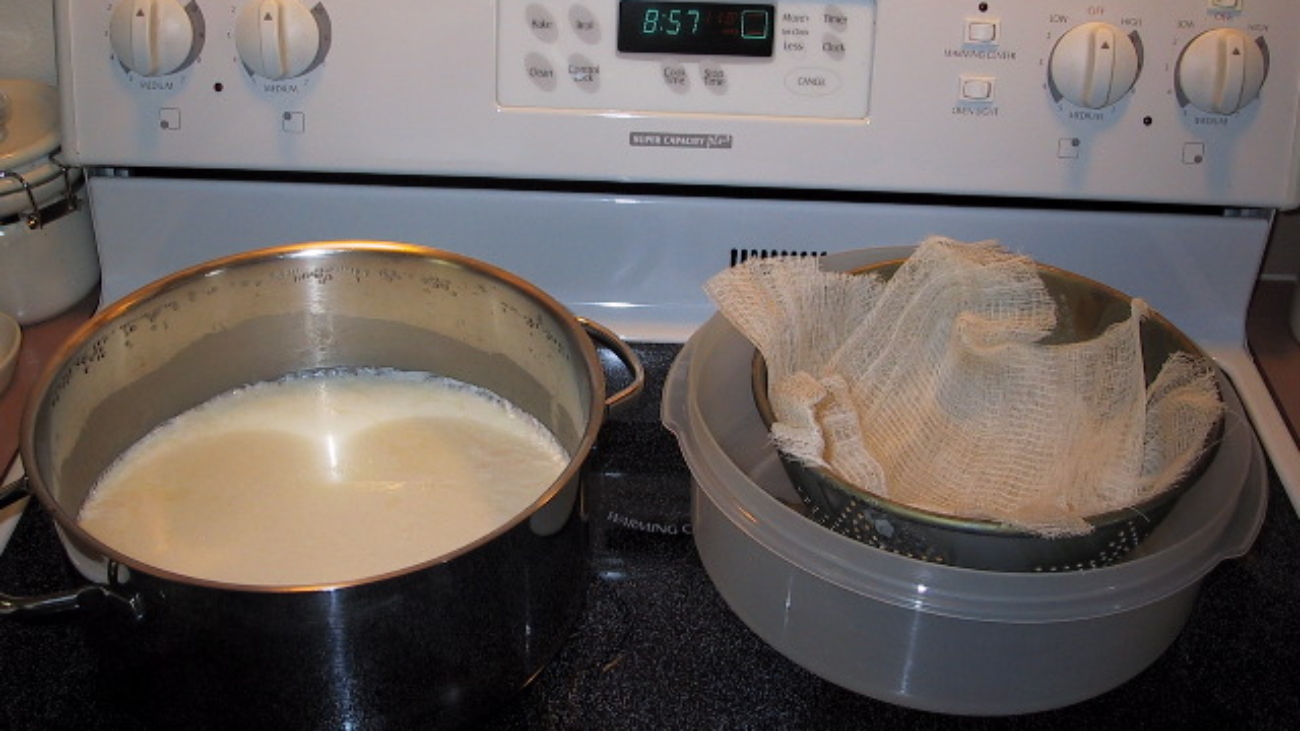
Half gallon of yogurt in the pan on the left, after 14 hours in the 105°F oven. Cheese-cloth-lined collander in a drain bowl on the right. For Greek Yogurt I pour the yogurt into the collander set-up, and place in 105°F oven for one-to-two hours. I recently had my Greek yogurt assayed for Lactic Acid Bacteria by Warren Analytical Laboratory in Greeley, Colorado. They measured 60 million Colony Forming Units (CFU) per gram (times 28.35 grams/ounce = 1.7 Billion CFU/ounce!) A delicious source of probiotics for my family’s microbiome.

Here’s a ten-minute video of how to make my yogurt (just click the image triangle below):